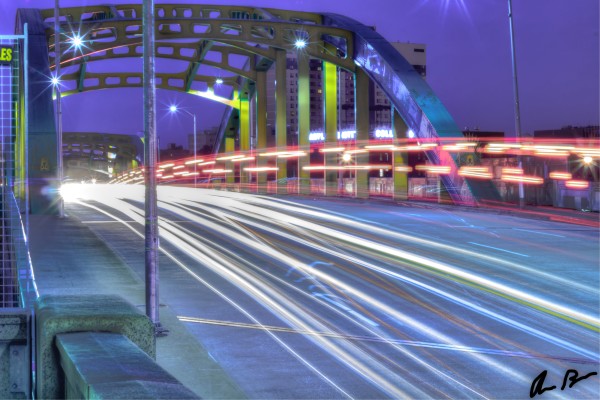
Recently, I’ve been spending a lot of time taking long exposure photos. I’ll be doing more daytime ones soon, but the easiest are night shots. If you spend enough time with your camera, you’ll quickly find that light is both your best friend and worst enemy. If your shutter exposure is too long, your photo will end up over-exposed and washed out. If your shutter isn’t open long enough, you risk under-exposing.
This is even more so true, on the underexposed end, at night. If you take a camera out and simply point and shoot, there’s a strong chance your photo will be too dark to make anything out.
Long exposures are incredibly easy to take if you have the right equipment. And the right equipment is incredibly cheap. All you need are:
- A D/SLR camera capable of shooting “bulb”. I use a simple entry level Canon T5i.
- A sturdy tripod. This works.
- A remote release. You can get a cheap intervalometer, but frankly, I find the user experience to be complicated and unnecessary for night shots. I use a simple one button remote.
- An eye. You can’t buy that on Amazon, but you can develop an eye even with your smart phone.
That’s all you need. And patience. It’s worth it to try and fail, if you learn from how and why you failed.
How I did it
You’d think photography, being an art, would follow a free spirit model of wandering and feeling a shot, then taking it, when it presents itself. I sometimes do that, but I am an engineer. There is a process.

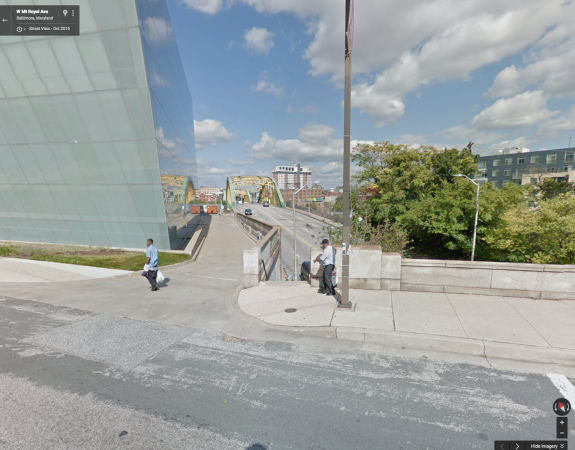
When I’m going to a new place, the last thing I want to do is travel and find out I don’t actually have the shot I hoped in my head. This is where Google Maps comes in to scout my location. You can use street view, often, to scope out a location and even pick the spot. When I was thinking about this shout, I went to Google Maps, found the location and looked for a place where a 6′ tripod could go and have the angle I wanted.

This location was directly next to the Maryland Institute College of Art and I knew thatI could get right up in that driveway, setup and take a long shot there. This is one of the handiest tricks I have and has nothing to do with photography. I don’t want to waste my time.
I spent about 30 mins attempting different settings but the key to a long exposure is a tripod that keeps your camera steady and a remote so you don’t touch it. Even just touching the button can introduce shake. You have to have a remote.
Put your camera into Manual. Don’t be scared. Open up your aperture as wide as it can go. My 50mm lens can open up to f/22. On the Shutter side, crank it all the way up until your timing settings read “Bulb”. Point and shoots, or most of them, won’t have this setting. You’re going to need a dSLR. Turn your ISO to 100. This reduces the noise and makes the sensor more more sensitive to deep light. It won’t overexpose you and you’ll have richer colors with less noise.
Two more settings that you’ll need. Make sure your camera is on manual focus and you focus it before taking a shot. Allowing your camera to find the focus point in the dark is a recipe for pain. Trust your eye on this.
Finally, every camera is different, but find your shot setting. Typically this will be set to a single shot, which means you hit the button and the shutter opens and closes exactly one time. You can also have burst which will take three shots in a row. However, for this, find your setting that is designated as remote control. This will vary by camera, so check your documentation if you’re not sure.
Now comes the psychological side.
On my camera, there is a general ratio of one second of exposure for every second of writing to the card. A 60 second exposure will take 120 seconds to complete. You have to be patient and not rush these things. Good things come to those who wait.
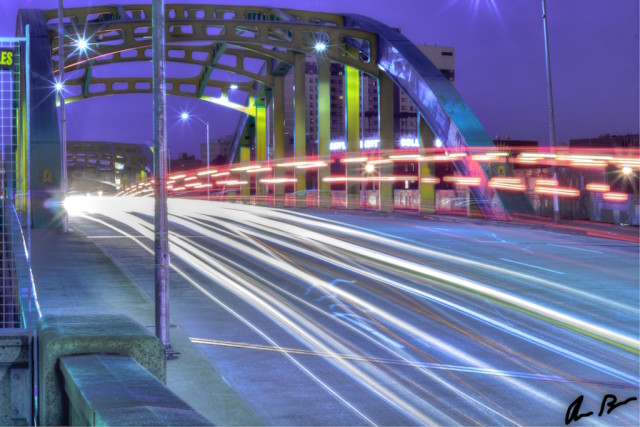
This shot had a 63 second exposure. I tried longer and I tried shorter, but 63 seconds gave me the appropriate amount of sky (it was dark, but the sky has a nice blue glow) while capturing passing tail and headlights. This is a trial and error thing and will depend on your location. It’s really important to be patient and not be in a hurry even if you find yourself twiddling your thumbs.
Finally, this particular shot has been HDR’d. That’s an entirely different lesson, but, frankly, everything I know I know from reading Trey Ratcliffe. Also, my style is an over-exaggerated one on purpose. But that’s me.
Let me know if this is fun. I really enjoy teaching opportunities and I do love sharing what I know. Get out there and shoot and don’t be afraid to fail.

